For beginners in the CNC field, the most frustrating challenge is "not knowing where to start when handed a drawing." In reality, CNC machining follows a standardized workflow system, with clear operational logic at every step—from interpreting the drawing to final product delivery.
This article breaks down the entire machining process into six core steps, starting from a beginner's perspective to avoid the obscurity of technical jargon. It explains the key actions of each stage in plain language, ensuring readers can follow along and start practicing immediately.
Drawing Analysis: Read All Size and Processing Instructions
Drawings are the "Bible" of CNC machining, and all operations must revolve around them. Novices looking at drawings, don't stare blankly at complex views, focus on three core elements:
Grasp key dimensions and tolerances.
First, find dimensions with tolerances (such as φ 20H7, 50 ± 0.01). These are the hard standards for machining, and any deviation will result in scrap;Find dimensions without tolerances again.
These dimensions are processed according to the "tolerance not specified" standard, with low precision requirements and no need to spend too much effort.
For example, the depth dimension of the mold cavity is 30 ± 0.02, while the chamfer C2 of the template is a secondary dimension.
Identify surface roughness requirements.
The roughness symbol (such as Ra3.2, Ra1.6) determines the processing method: Ra12.5 rough milling can be achieved, Ra0.8 requires precision milling+polishing
Newcomers remember: the smaller the value, the smoother the surface, and the higher the processing difficulty.
Identify materials and technical requirements
The materials in the title bar (such as 6061 aluminum, 45 steel, P20 mold steel) directly determine the cutting tools and cutting parameters;The "quenching and tempering treatment" and "surface anodizing" in the technical requirements should be planned in advance in the process to avoid discovering process omissions after processing.
Novice avoidance: Don't just look at 2D drawings. If possible, use UG or CAD software to convert them into 3D models, intuitively understand the structure of the parts, and avoid misreading views that may cause machining errors.
Process Planning: Make a Scientific CNC Machining Route
Process planning is the bridge connecting drawings and machine tools. Novices can follow the principle of "rough first, fine second, main second, and surface first, hole second" to develop the route. The core is to determine four key items:
Determine the processing sequence
General order: raw material cutting → reference surface machining → rough machining (removing most of the excess) → semi Precision Machining (correcting the shape) → precision machining (ensuring accuracy) → hole machining/thread machining → surface treatment;
Adjustment of special parts: Thin walled parts should first process the outer contour before processing the inner cavity to avoid deformation; Deep hole components are drilled first, then enlarged, and finally reamed.
Choose the right tool
Select knives according to processing stages: use large-diameter round nose knives for rough machining (high efficiency and impact resistance), and flat bottom knives/ball head knives for precision machining (good surface quality);
Select knives according to materials: aluminum coated knives (anti sticking knives) are used for aluminum parts, hard alloy coated knives (wear-resistant) are used for steel parts. Novices should not use high-speed steel knives to process hard materials, as they are prone to chipping.
Match cutting parameters
Novices don't need to memorize formulas, follow the principle of "the higher the hardness of the material, the lower the speed, and the slower the feed";
For example, a 10mm milling cutter is used to process 6061 aluminum, with a rough milling speed of 8000r/min and a feed rate of 2000mm/min; Processing 45 steel, rough milling speed 600r/min, feed 500mm/min.
Design clamping scheme
The core of clamping is "rigidity and non-interference": flat pliers and pressure plates are preferred for clamping, and vacuum suction cups are used for thin-walled parts;
Beginner's tip: When clamping, use equal height pads to support the bottom of the part to avoid deformation or shaking during processing.
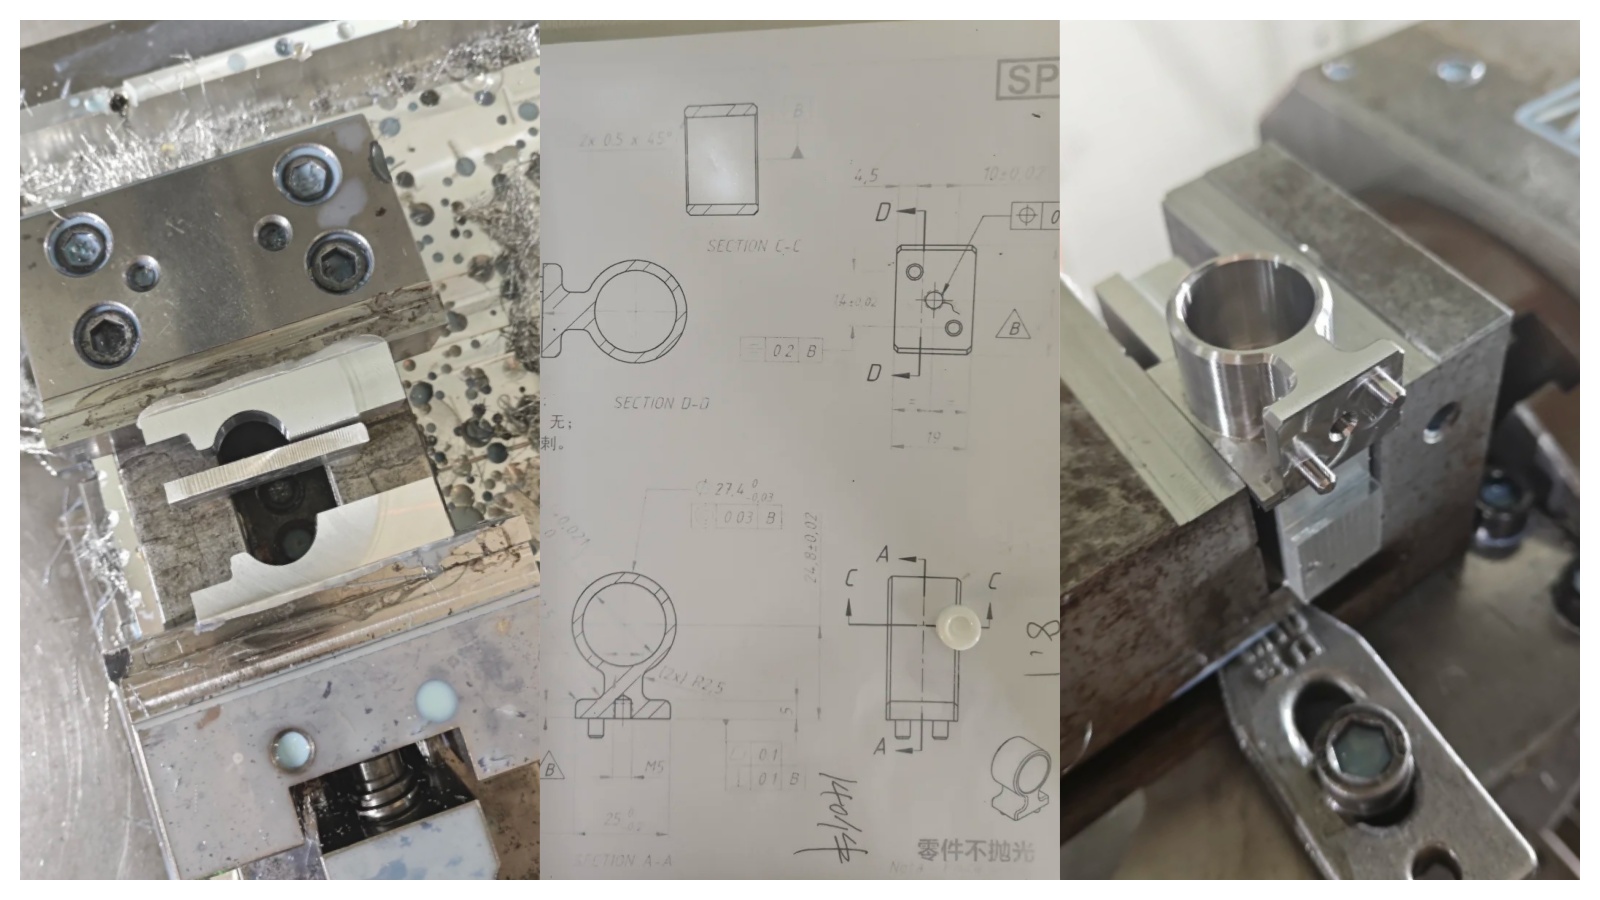
CNC Modeling & Programming: Generate Accurate Tool Paths
Programming is the key to making machine tools understand instructions. Novices can start with CAM software (such as UG, Mastercam), and the core steps are three:
Import model+set blank
Import the 3D model into the software and draw the "blank body" based on the actual blank size, which must be larger than the part (with reserved machining allowance);
Set the workpiece coordinate system (G54), with the origin selected at the symmetrical center or reference angle of the part for easy tool alignment.
Select knife path strategy+set parameters
The rough opening of the cavity is achieved through "cavity milling following the periphery", which has high efficiency and fewer empty knives;
The side wall precision milling uses "deep contour milling spiral feed" to avoid leaving knife marks when cutting vertically;
Directly call a fixed loop for hole processing (such as G81 for drilling and G84 for tapping), without the need for manual programming
Key settings: Leave 0.2-0.5mm semi precision milling allowance for rough machining and 0.05-0.1mm precision milling allowance for semi precision milling. Novice workers should complete the machining in one go.
Knife path verification+post-processing
After the tool path is generated, it is necessary to perform "tool path visualization": check whether the tool will collide with the fixture and whether it will over cut the parts;
Use the software's built-in post-processing unit to convert the tool path into G-code that can be recognized by the machine tool (the code format varies for different systems, select the corresponding post-processing file);
Novice must do: After exporting the G-code, compare it with the 3D model again to confirm that there are no extra cutting paths.
CNC Machine Operation: Process Workpieces Steadily and Accurately
Machine tool operation is the "practical link" for beginners. Remember the three-step method of "first aligning the tool, then running it again, and finally processing it" to prevent tool collision and scrap:
Tooling preparation and knife alignment
X/Y-axis tool alignment: Use an edge finder to touch the reference edge of the workpiece and input the numerical value into the machine coordinate system;
Z-axis tool alignment: Use a tool alignment device to measure the length of the tool, input the tool compensation parameter (H value), and beginners should not rely on their hand feel to align the tool.
According to the program requirements, clamp the tool and workpiece, and the shorter the extension length of the tool, the better (to reduce vibration);
Knife alignment is the core
Program import and empty run verification
Import the G code into the machine tool through a USB drive and select the corresponding program number;
Key action: Raise the Z-axis by 50mm, activate the "machine idle operation" mode, let the machine go through the tool path once, check if the tool path is consistent with the drawing, and avoid tool collision.
Formal processing+real-time monitoring
Listen to the sound: Normal machining is a "uniform cutting sound", and if there is a sharp and abnormal noise, it is most likely due to tool vibration or tool breakage, and the machine should be stopped immediately;
Look at iron filings: It is normal for aluminum filings to appear in a "strip" shape and steel filings to appear in a "spiral" shape. If iron filings appear in a "fragmented" shape, it indicates that the cutting tool is dull;
Check dimensions: After rough machining is completed, measure key dimensions in a timely manner to avoid insufficient or excessive allowance during precision machining.
Before starting the program, ensure that the coolant switch is turned on and the nozzle is aligned with the cutting area;
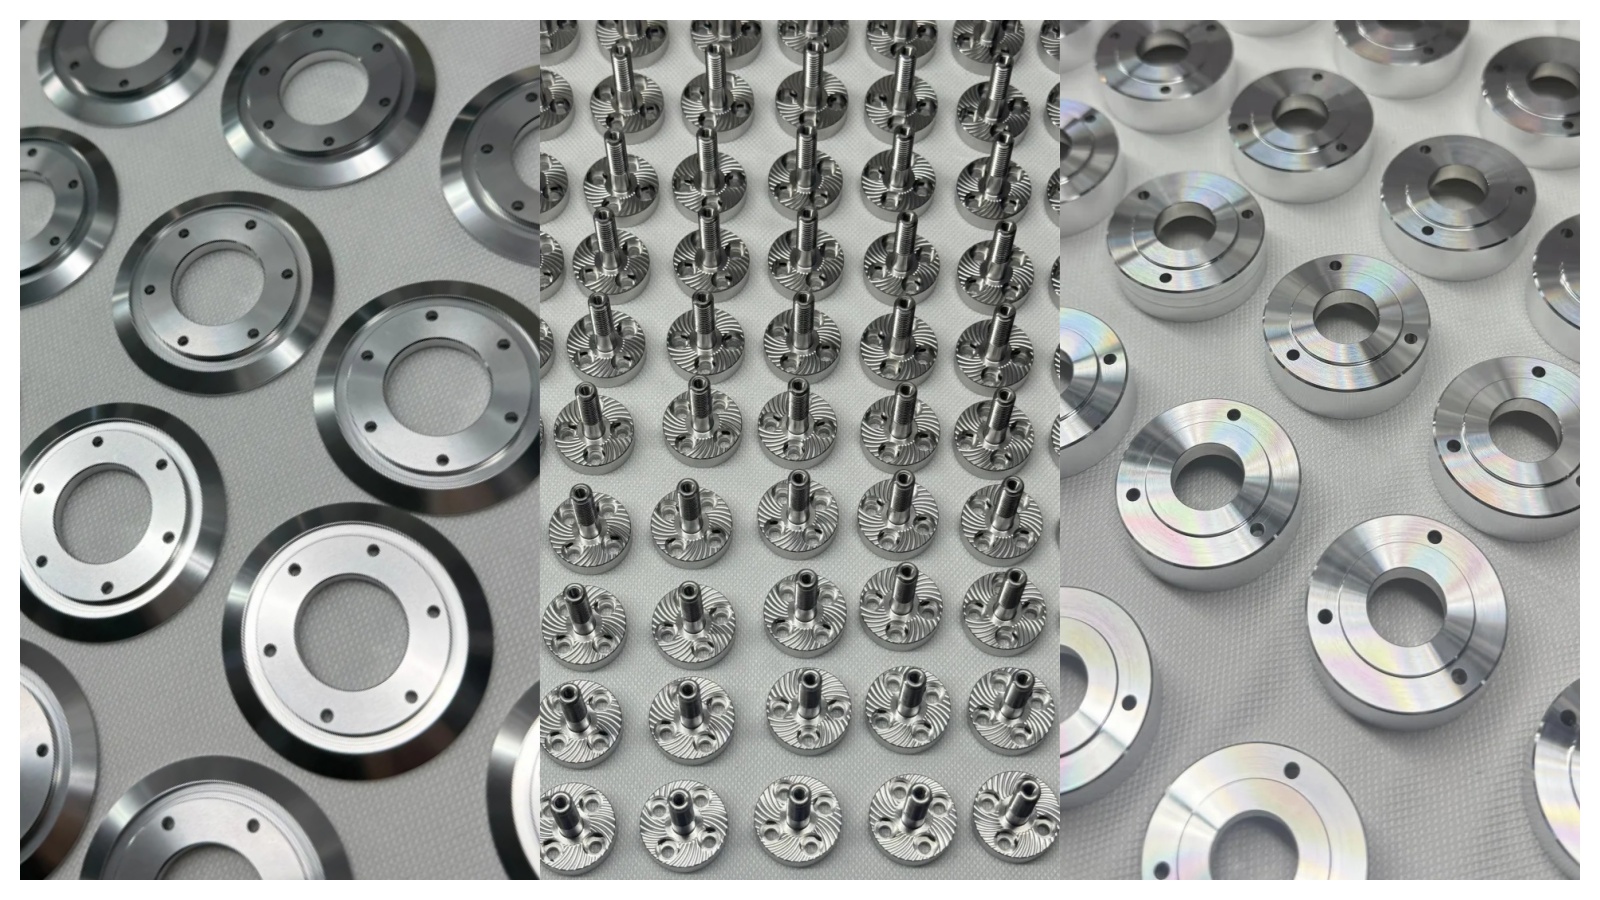
Quality Inspection & Correction: Ensure Parts Meet Tolerance Standards
The processed parts are not directly delivered, but must go through the quality inspection process. Novices inspect them in the order of "coarse to fine, primary to secondary":
Basic dimension inspection
Measure linear dimensions (such as length and aperture) with calipers and micrometers, and focus on checking dimensions with tolerances;
Use a dial gauge to measure the form and position tolerances (such as flatness and perpendicularity), such as the installation surface of the mold template, with a flatness requirement of ≤ 0.01mm.
Surface quality inspection
Compare the surface roughness with a roughness template or directly measure it with a roughness meter;
Check the surface of the parts for knife marks, scratches, and burrs. If there are burrs, gently polish them off with a file or sandpaper.
Correction of non-conforming products
Oversized size: If there is still excess, rewrite the precision milling program to correct it;
Small size deviation: Minor deviations can be compensated for by polishing, and excessive deviations can be directly scrapped (do not force it to avoid affecting assembly).
Finishing & Delivery: Final Processing and Perfect Delivery
This is the final step, mainly doing three things:
Cleaning parts: Use cleaning agents to remove cutting fluid and iron filings from the surface of the parts, wipe them dry, and perform rust prevention treatment (apply rust proof oil to steel parts, and apply protective film to aluminum parts);
Record archiving: Organize and archive processing drawings, programs, and quality inspection reports for easy access during the next processing of the same type of parts;
Equipment maintenance: Clean the iron filings on the worktable of the machine tool, wipe the guide rail, check the cutting fluid level, add lubricating oil to the machine tool, and develop the good habit of "cleaning the machine when people leave".
Three essential tips for beginners to avoid pitfalls
Don't skip "idle running": Many beginners find it troublesome and directly cut the tool or workpiece, resulting in tool or workpiece damage. Running idle for 10 minutes can avoid 80% of low-level errors;
Don't ignore "cooling": Insufficient cooling during aluminum processing can stick to the tool, while insufficient cooling during steel processing can burn the tool. It is important to ensure that the coolant is sufficient and aligned with the cutting area;
Don't pursue "one-step completion": Novices always want to process qualified dimensions in one go, but the result is either insufficient margin or over cutting. Remember the three-step principle of "rough milling → semi precision milling → precision milling", and work steadily to avoid mistakes.
FAQs About Complete CNC Machining Steps
Q1: What is the complete CNC machining process?
A1: The standard CNC machining workflow includes drawing analysis, process planning, programming, machine operation, quality inspection and finished product delivery.
Q2: Why is drawing analysis the first step of CNC machining?
A2: Drawings record all dimensional tolerance and technical requirements. Accurate drawing reading avoids wrong processing and unnecessary rework.
Why CNC Machining Quotation Requires Drawings | Cost & Tolerance Analysis
Q3: What ensures CNC parts precision?
A3: Scientific process planning, accurate programming, stable machine operation and strict quality inspection jointly guarantee tight-tolerance CNC parts.
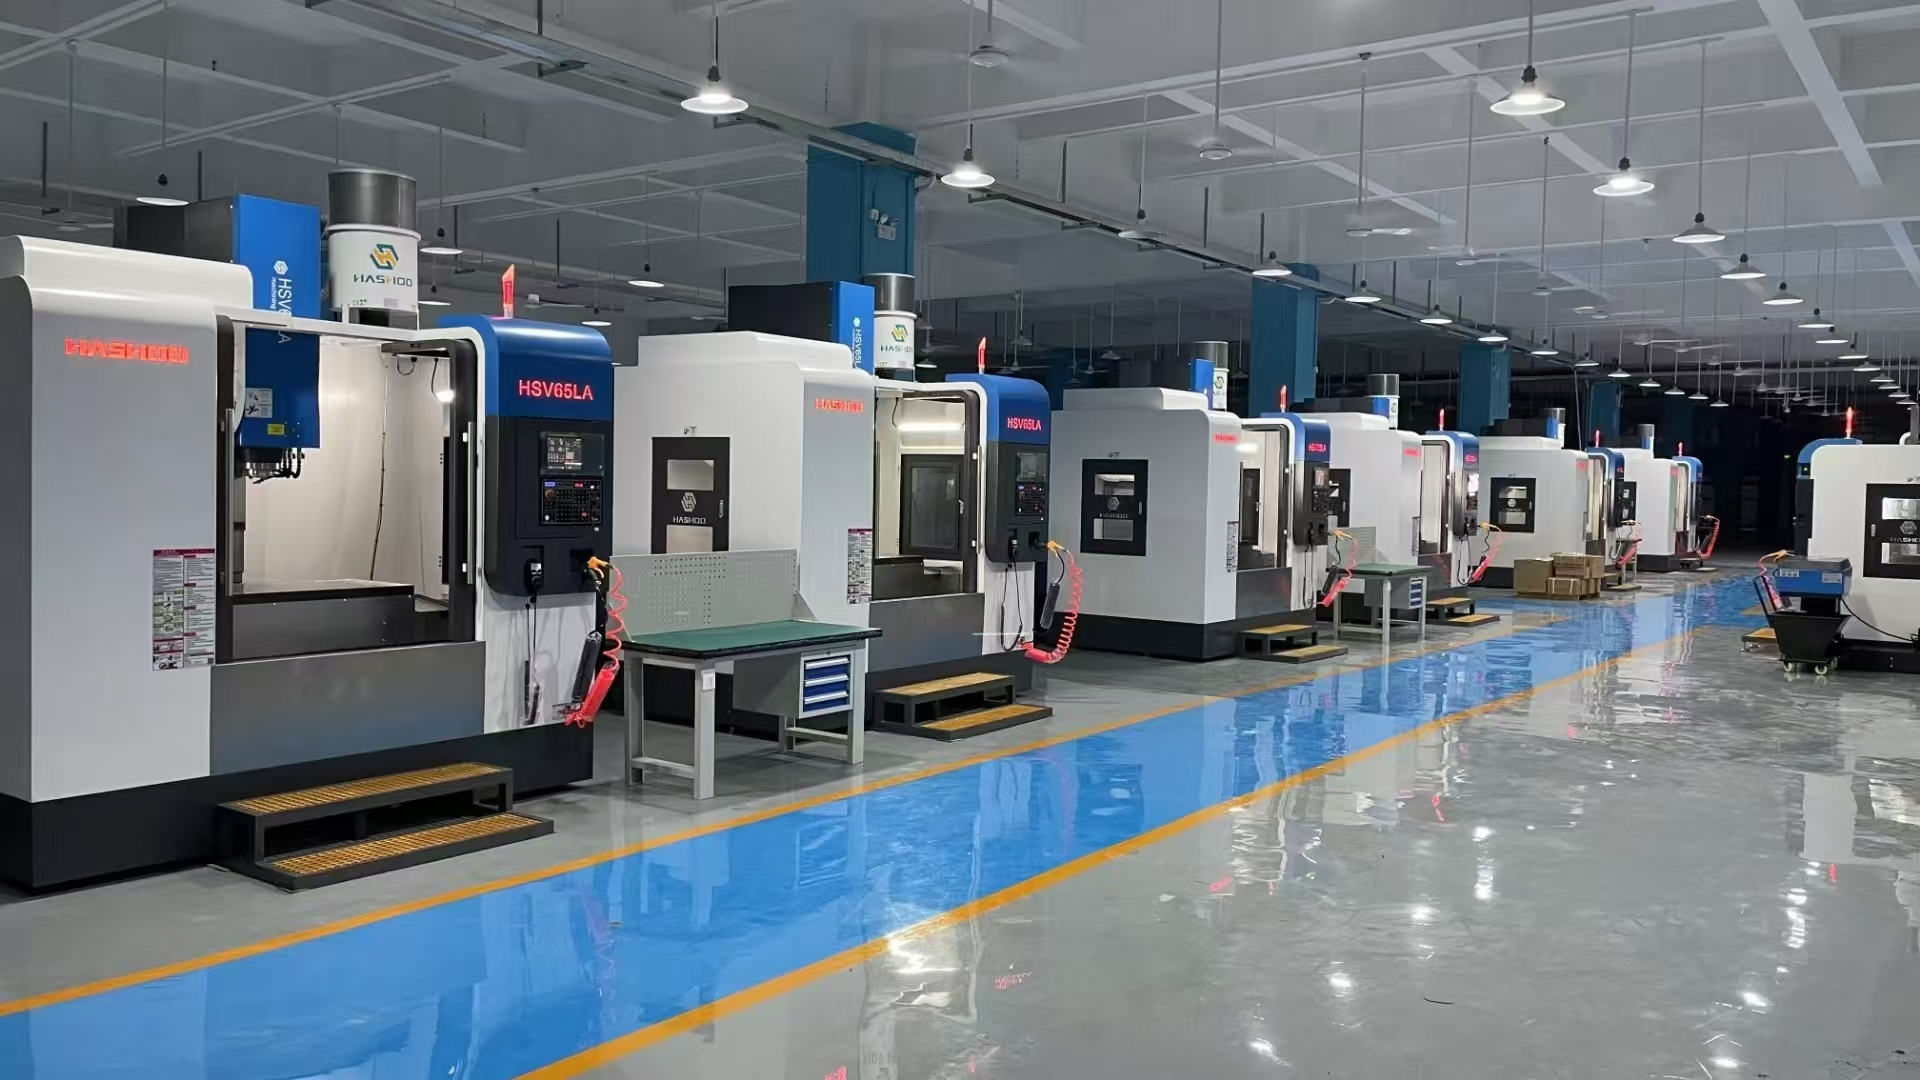
CNC machining may seem complex, but it is actually a standardized process of "inputting instructions → executing operations → verifying results". For beginners, there is no need to pursue advanced programming skills from the beginning. First, master the three steps of "drawing reading → process planning → machine tool operation", and then gradually advance to the processing of complex parts.
Masters are not trained in a day, but are honed through repeated processes of processing, testing, and correction. As long as we follow the process, Xiaobai can easily turn the drawings into qualified finished products.
If you need high-precision CNC customized machining services, please send drawings for professional process evaluation and free quotation.





 Phone
Phone
Comment
(0)